How to Create a Blog Post in WordPress Using Divi Builder
Creating a new blog post in WordPress using Divi Builder is simple, and I will walk you through it.
Navigate to your dashboard (if you’re unsure how to access it, check out our guide on how to access WordPress the dashboard) and follow the following steps:
1. Post Section
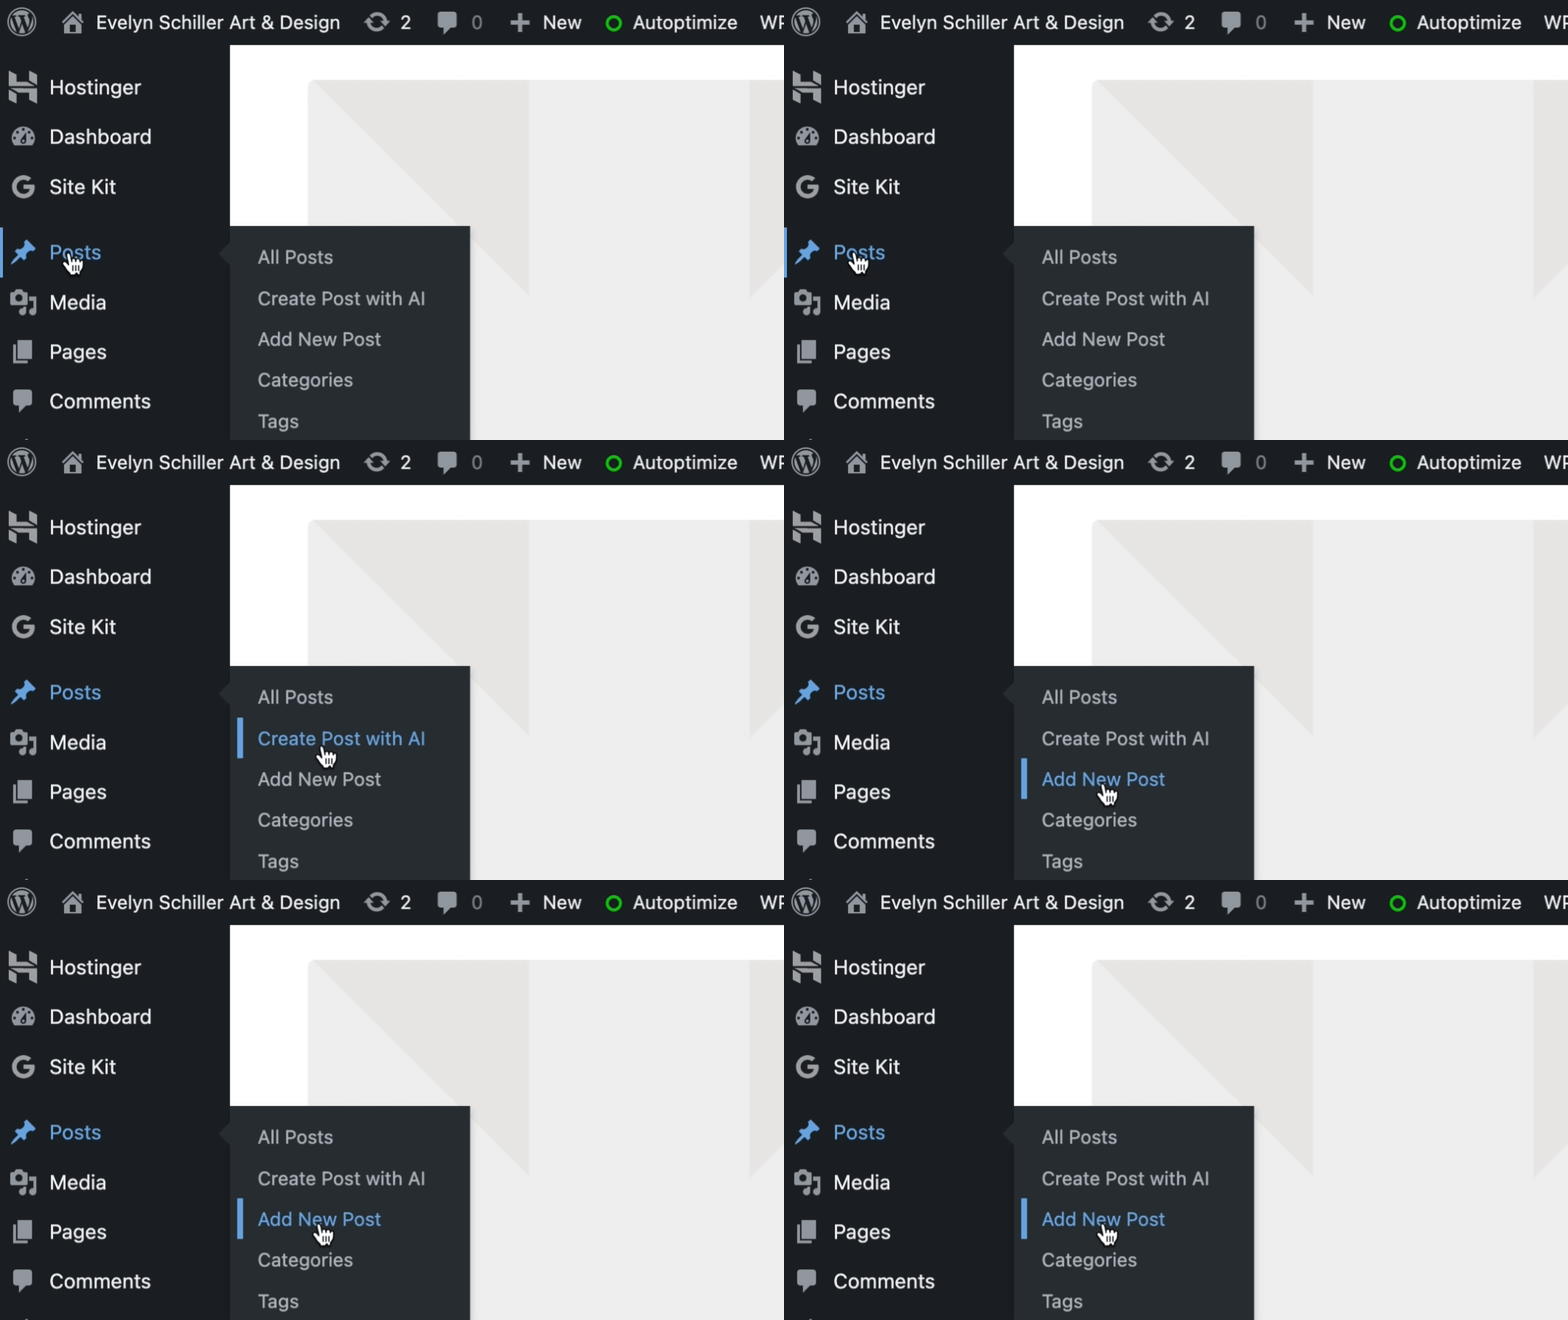
Once on your dashboard, navigate to the “Posts” section on the left-hand side of the dashboard. Click on “Posts” to expand the menu, and select “Add New” to create a new blog post.
Posts > Add New Post2. Enter a Title for Your Blog Post
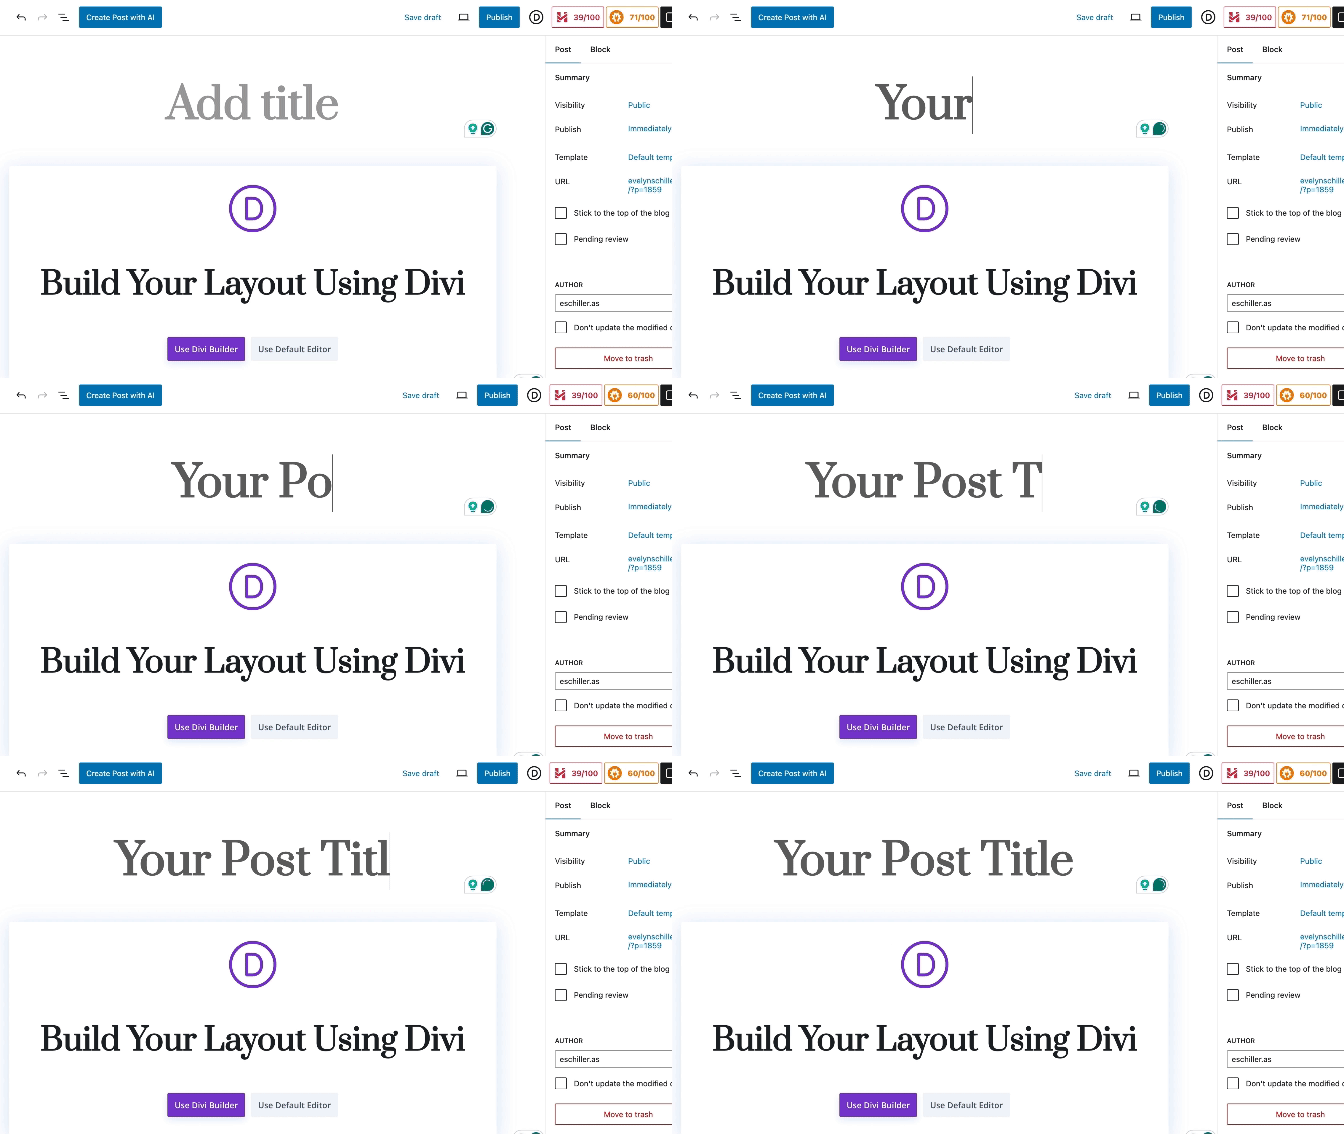
In the editor, enter a title post that describes your blog post.
Post > Add New Post > Add your Post Title
3. Use Divi Builder to Add your Content
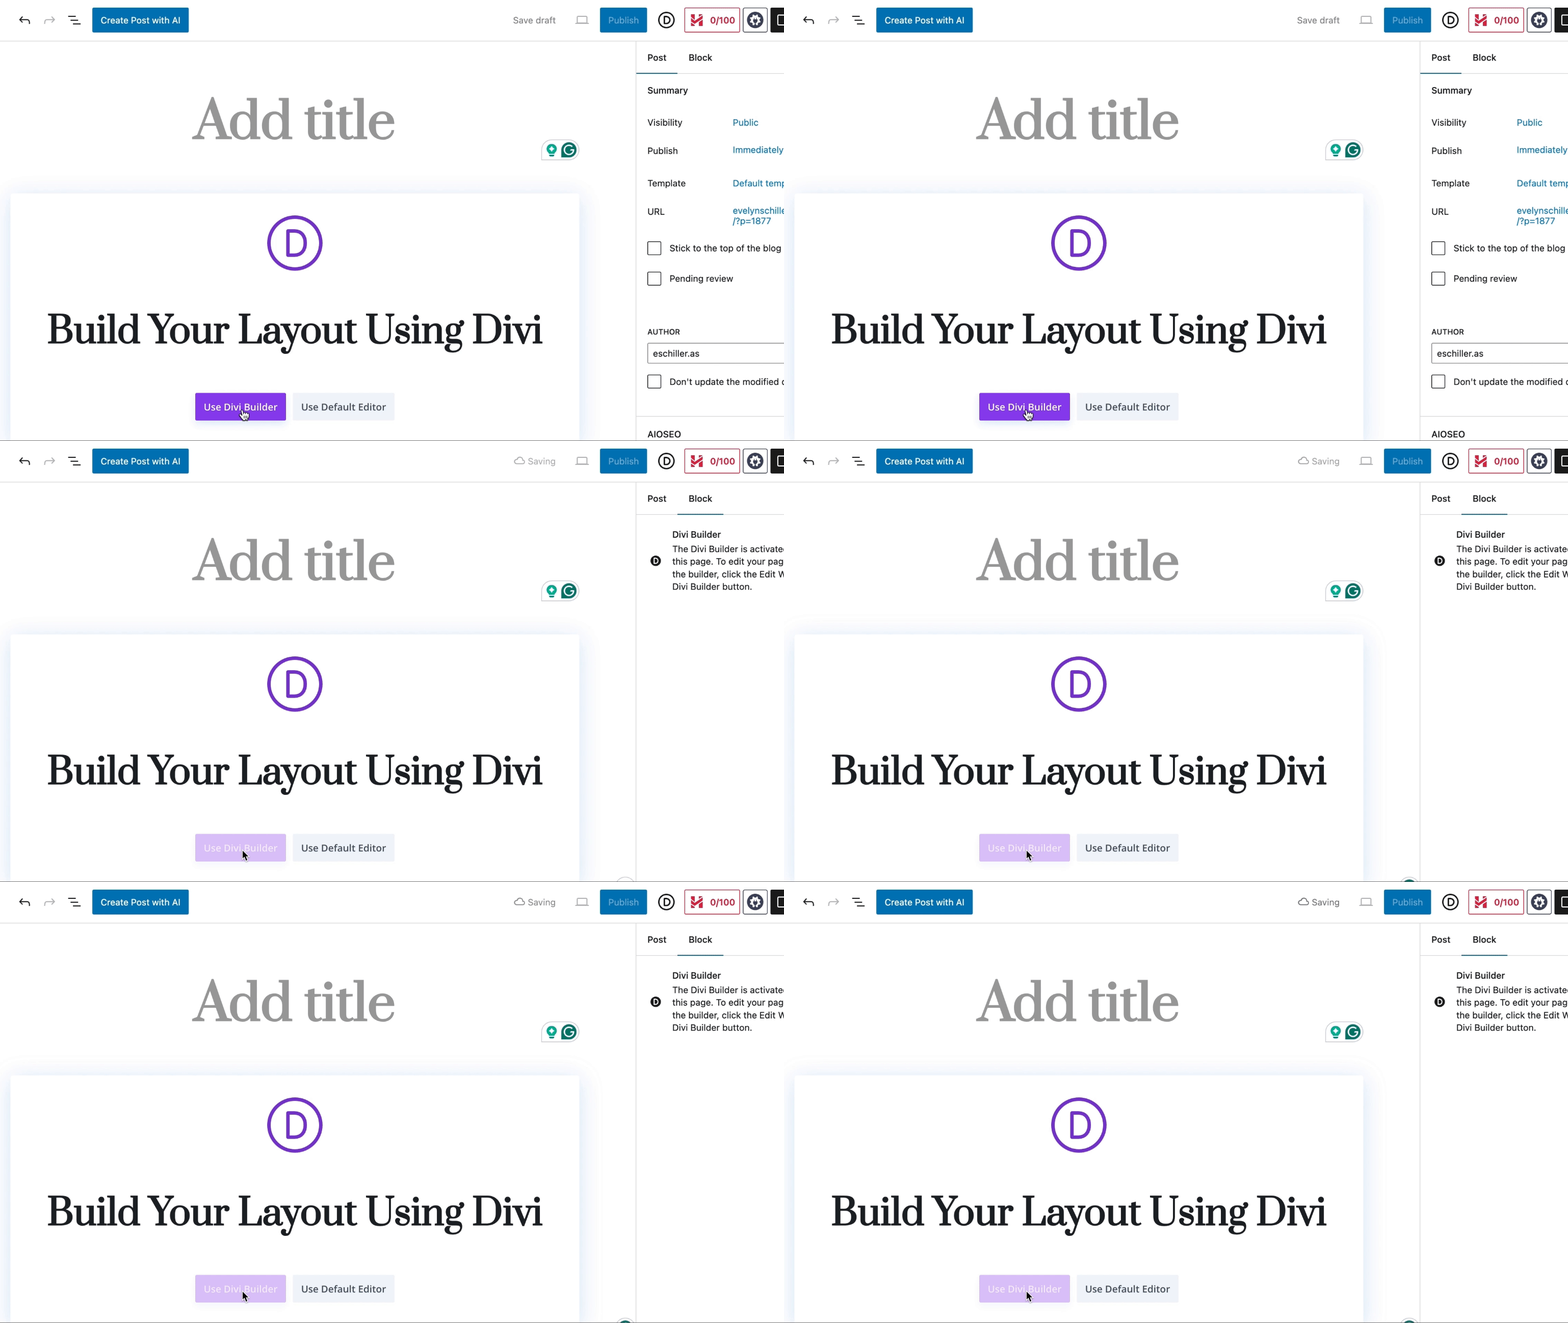
Go ahead and click on Use Divi Builder.
Post > Add New Post > Add your Post Title > Use Divi Builder
4. Choose a Canvas
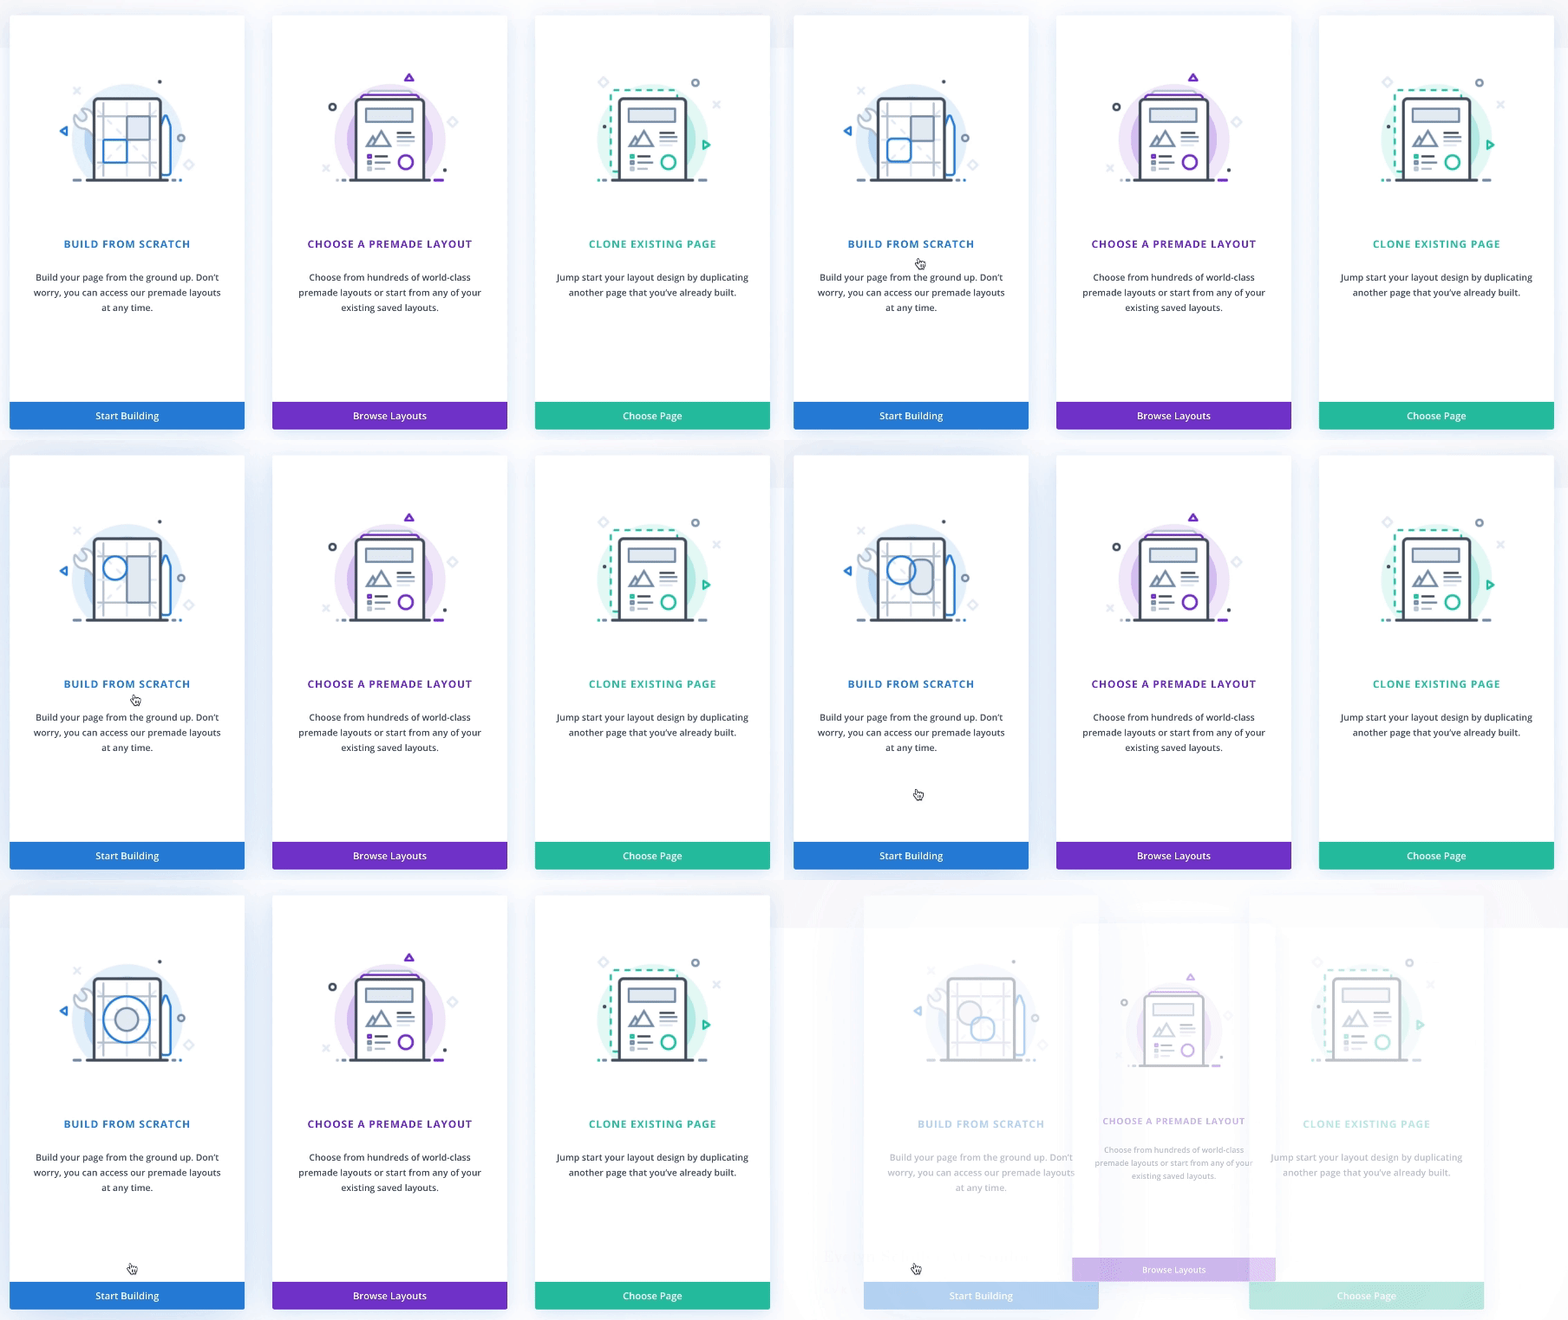
Divi provides 3 distinctive starting points: “Choose a Premade Layout”, “Clone Existing Page”, or “Build From Scratch”.
Opt for “Build From Scratch” if you have a Divi Theme Builder layout*. If you haven’t yet, I highly recommend watching this tutorial on creating a blog post template.
Post > Add New Post > Add your Post Title > Use Divi Builder >
Start Buildinging
*To my clients
Rest assured about the Theme Builder layout – I’ve got you covered. Your personalized layout is ready; simply click on “Start Building” to start your post.
5. Your canvas
Divi Builder provides two options for visualizing your post as you add content. Opt for the method that best suits your visual preferences — rest assured, both approaches offer the same range of possibilities.
Wireframe View
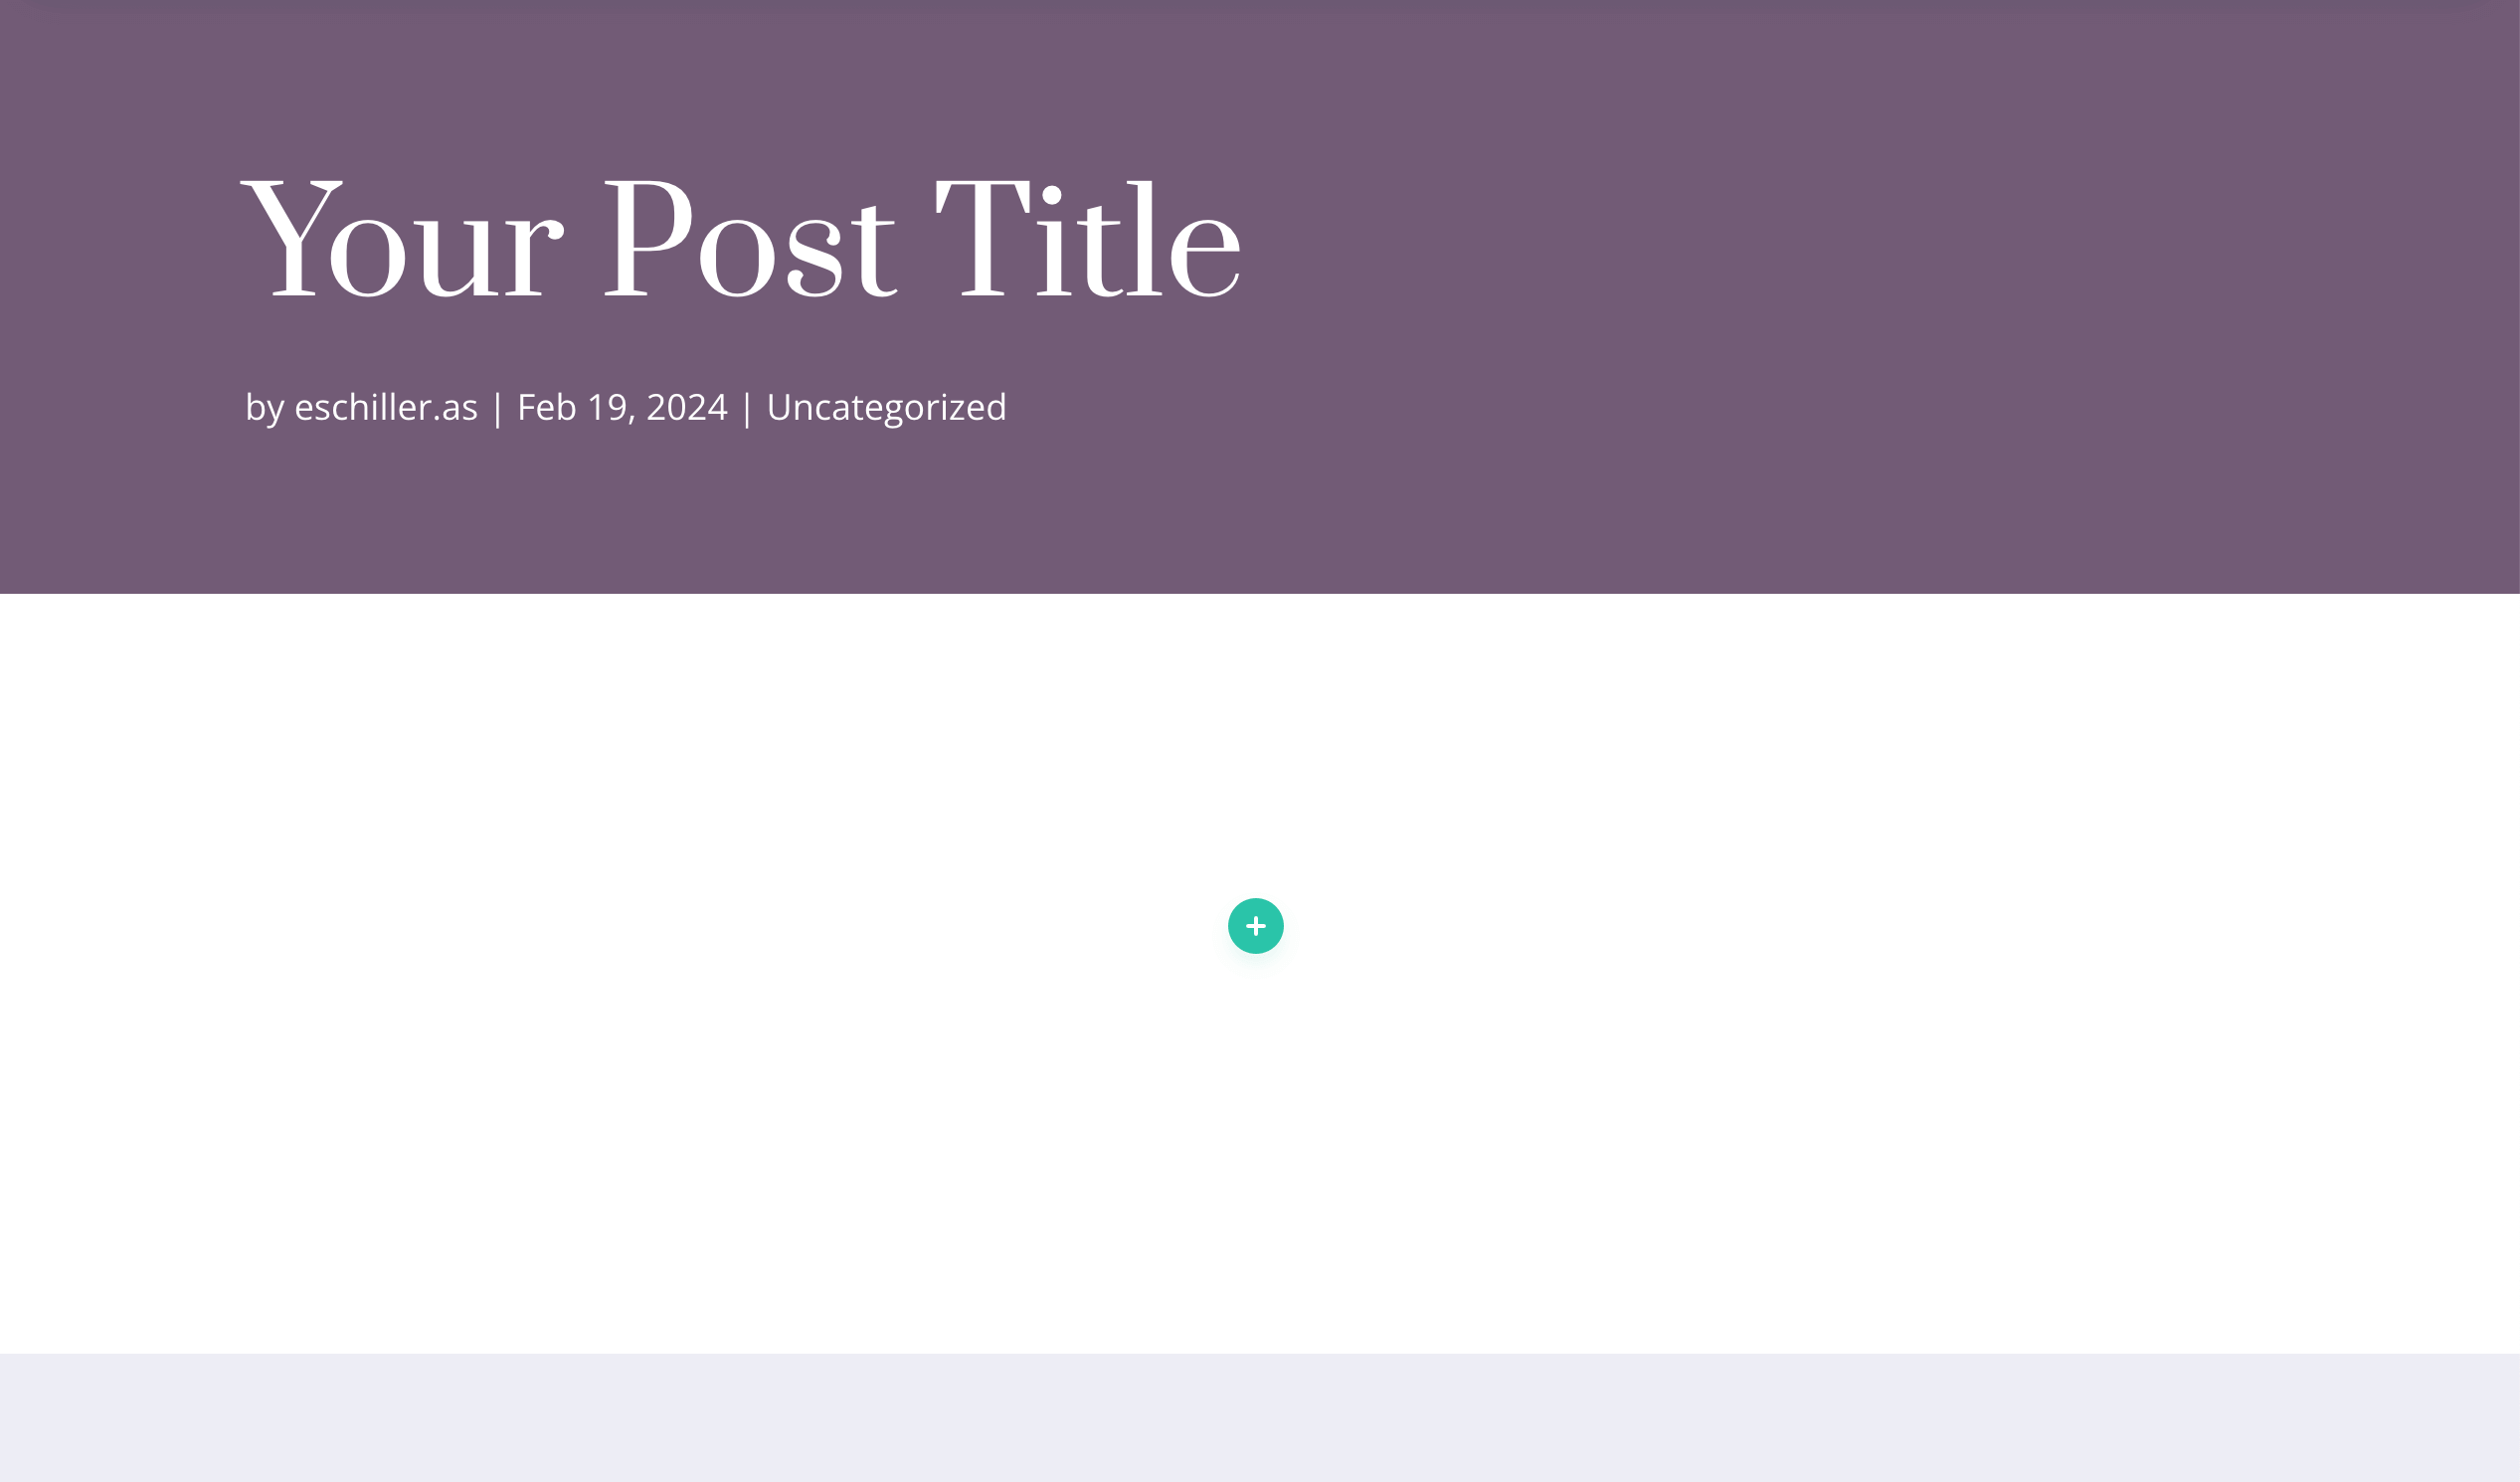
Desktop View
7. Understanding Divi Structure
Divi has 3 fundamental elements: sections, rows, and modules. Envision them as the components of a house:
- Sections (blue circle) are the foundation of the house, the main structure.
- Rows (green circle) are the rooms, the house’s layout inside the structure.
- Modules (gray circle) are the furniture and decoration.
Row (Green Circle)
To add a new row:
- Click the green “+” circle, and select the desired number of columns.
- Customize your row settings by clicking the gear icon.
- Adjust layout, design, spacing, and visibility as needed.
Tip: Tailor your row layout based on your content. Opt for a single-column row for text-heavy sections and consider multiple columns for a mix of text and images.
Modules (Grey Circle)
To add a new module:
- Click the grey “+” circle, and choose a module based on your desired content or functionality.
- Common modules include Text, Image, Button, Slider, Gallery, Contact Form, and more. Explore it!
Tip: Each module comes with extensive customization options. Discover and personalize these options by clicking on the gear icon.
8. Text Module
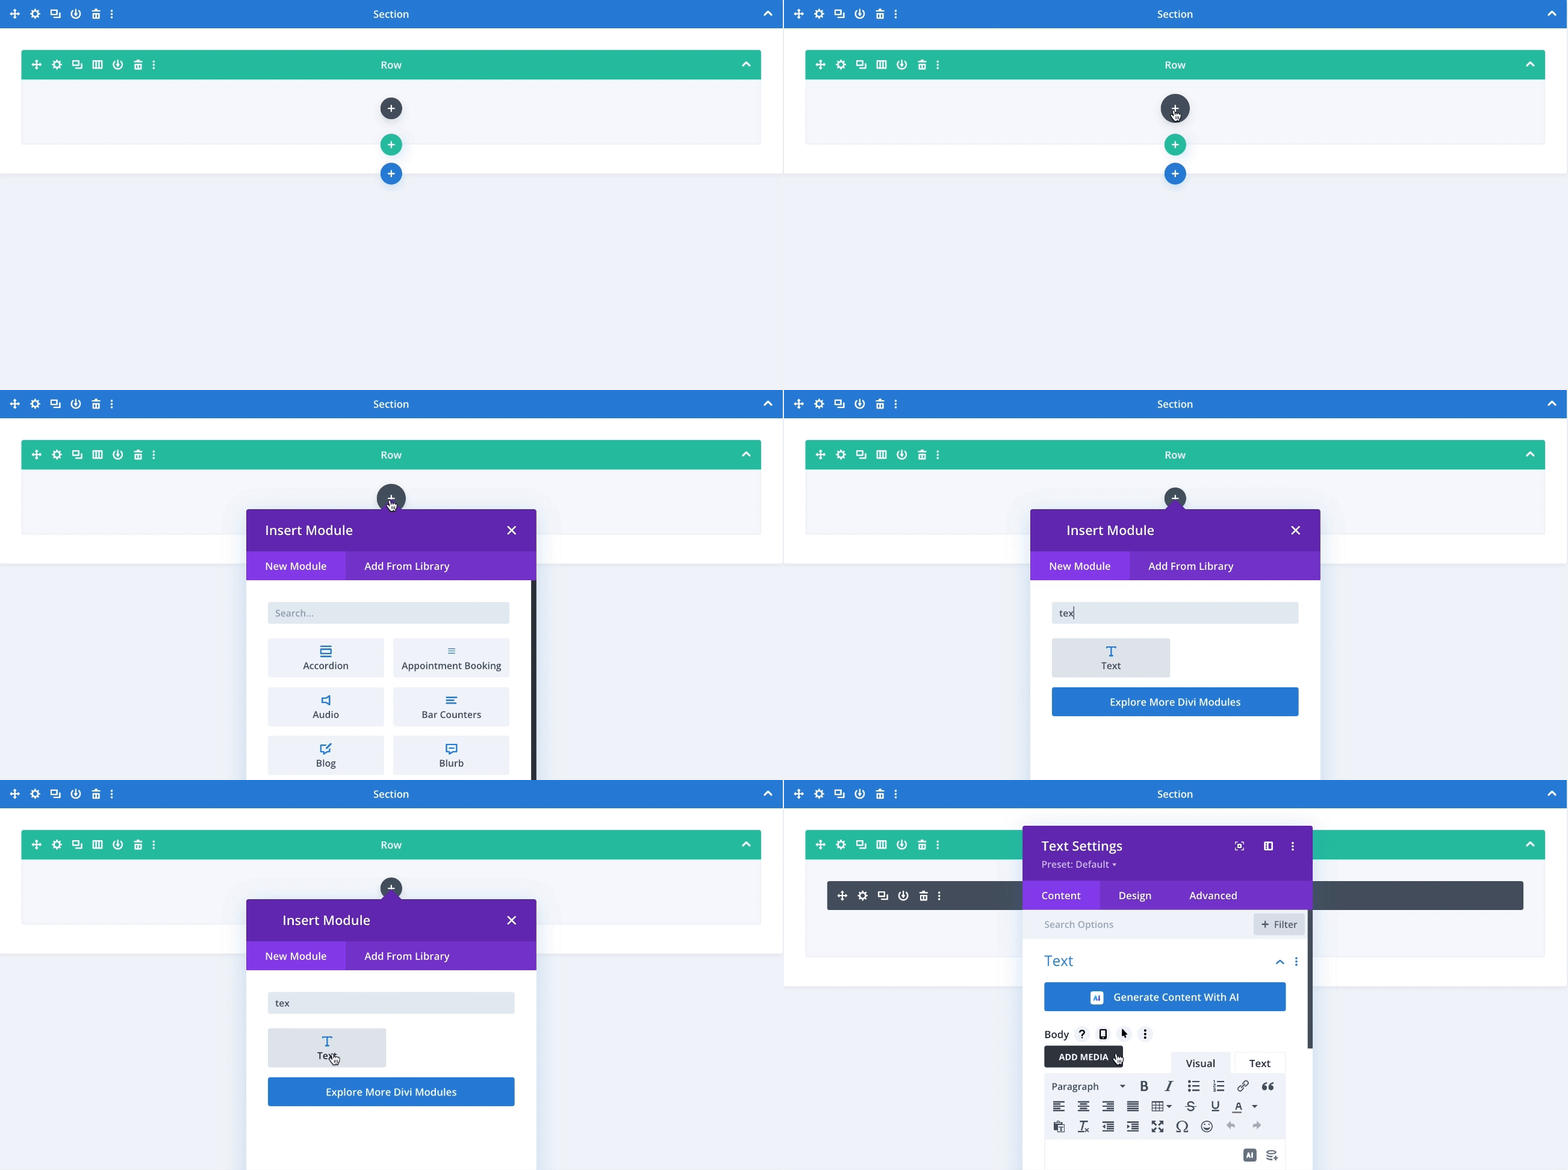
Add text module clicking the grey “+” circle, select the text module. You can also check Divi Text Module tutorial.
grey “+” > text
Structure the Text
Within the Text module, navigate to the Content tab to structure your text as you prefer.
Design the Text
Within the Text module, navigate to the Design tab to design your headings, paragraphs, bullets, as you prefer.
Tip: Hierarchical structure in text, especially in terms of headers, is crucial for both user experience and SEO (Search Engine Optimization). So think of that when organazing your text.
9. Image Module
Add image module clicking the grey “+” circle, select the image module. You can also check Divi Text Module tutorial.
grey “+” > image
Add as many modules as you need for your post. Explore all the possibilities; the more you try, the more you learn.
Tip: Save your post during the whole process as many times as you want for precaution; you can do that by clicking in the purple circle with three dots (…) and then clicking on the blue button to Save Draft.
10. Preview and Publish Your Blog Post
Before publishing your blog post, it’s essential to preview how it will look to your readers. Divi Builder lets you switch between the visual builder and the preview mode to see your post in real time.
You do that by clicking on “Exit Visual Builder” at the head of your page and returning by clicking “Enable Visual Builder”.
When satisfied with your post, click the green “Publish” button to make your blog post live on your website.
I hope this post helped you posting in your WordPress blog using divi builder.

